Hello lovely crafters! Get ready to stitch up something truly special because today we’re diving into the delightful world of the Mollie Flowers Headband Free Crochet Pattern. Imagine a delicate band adorned with charming, textured blooms – a perfect accessory that’s as pretty as it is practical!
This sweet headband is absolutely ideal for anyone just starting their crochet journey, or for seasoned makers looking for a quick and joyful project. They make incredibly thoughtful handmade gifts, and can even add a touch of bohemian flair to your home decor if you create a few to display!
With this easy-to-follow pattern, you’ll master some lovely stitches and learn how to create these adorable floral motifs. Let’s grab our hooks and yarn, and bring these beautiful Mollie Flowers to life together!
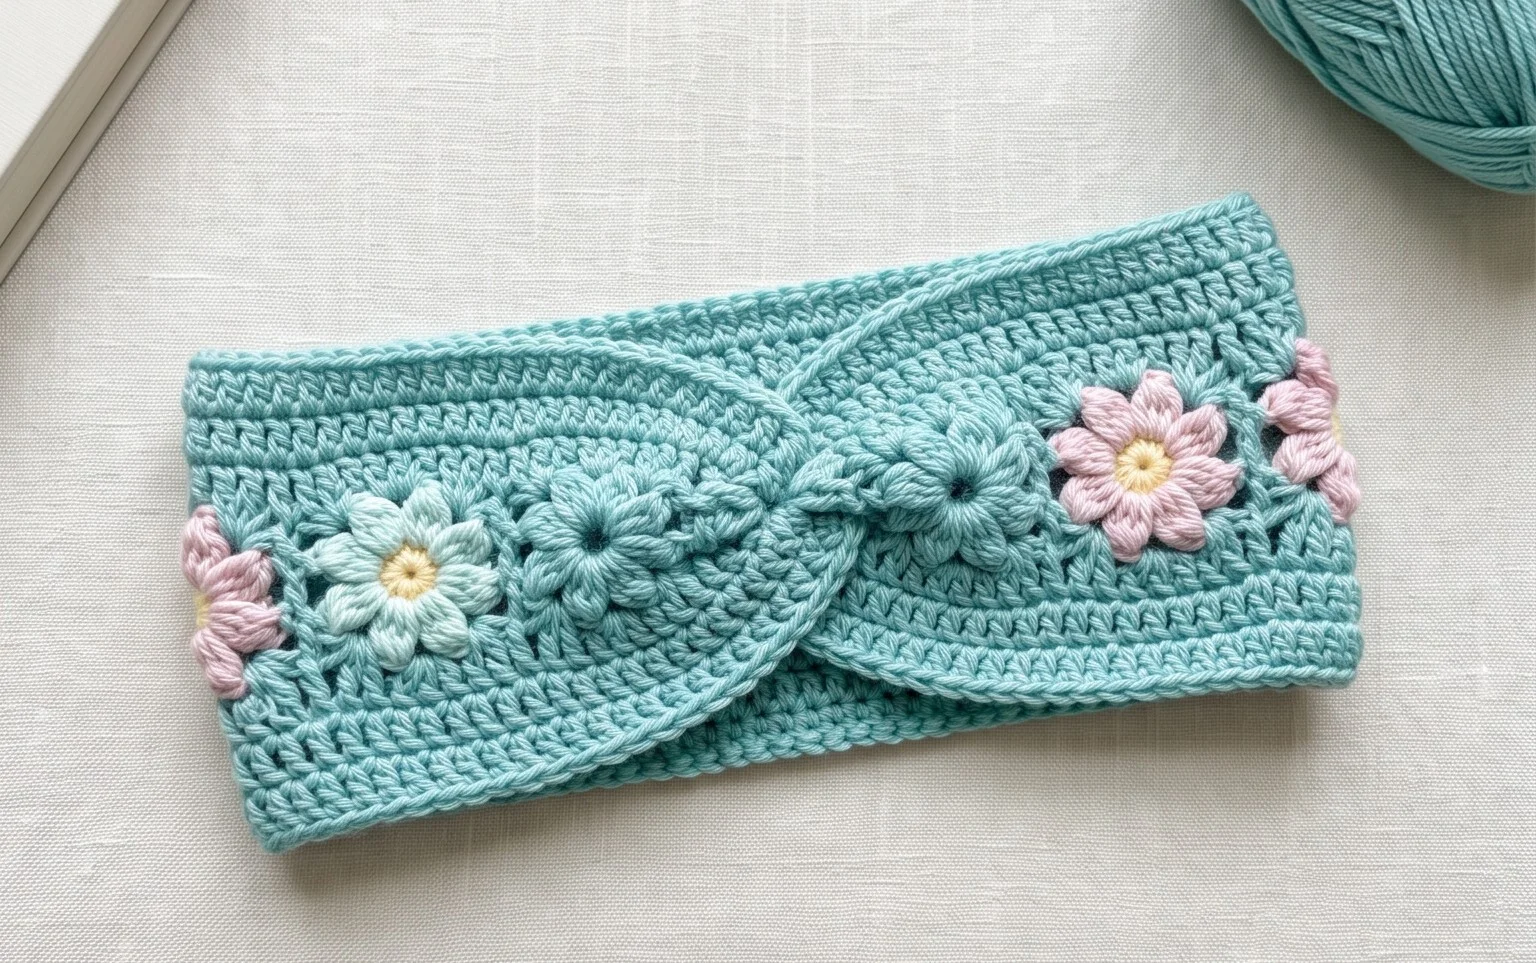
Blooming Beauty: Craft Your Own Mollie Flowers Headband!
Crocheting is a wonderfully versatile craft, allowing you to create everything from cozy blankets to delicate accessories. Today, we’re diving into a particularly charming project: the Mollie Flowers Headband. This free crochet pattern is perfect for adding a touch of handmade sweetness to your style, or as a thoughtful, personalized gift. Get ready to create a beautiful accessory that’s as delightful to make as it is to wear!
Getting Started: Yarn and Hook Recommendations
The beauty of crochet patterns often lies in their adaptability, and the Mollie Flowers Headband is no exception. However, to achieve the best results and the intended look, choosing the right yarn and hook is key.
Yarn: For this pattern, a lightweight yarn is generally recommended. Think DK (double knitting) or Worsted weight cotton yarn. Cotton is fantastic because it has a lovely drape, is breathable, and holds its shape well, making it ideal for headbands. Acrylic yarn can also work well, offering durability and a wide range of color options. For a more delicate, airy feel, a finer yarn like sport weight could also be explored.
Color Palette: The Mollie Flowers Headband is designed to showcase vibrant, cheerful colors. You’ll typically use a main color for the band itself and contrasting colors for the adorable little flowers. Don’t be afraid to experiment! Think pastel combinations for a soft look, bright and bold hues for a statement piece, or even monochrome for a sophisticated touch.
Hook: The size of your crochet hook will directly influence the fabric of your headband. A hook size that complements your chosen yarn is essential. For DK weight yarn, a 3.5mm (E-4) or 4.0mm (G-6) hook is a common starting point. For worsted weight, you might opt for a 4.5mm (7) or 5.0mm (H-8) hook. Always check your yarn label for its recommended hook size – it’s a great guideline, but feel free to adjust slightly based on your personal tension. A hook that allows your stitches to be firm enough to hold their shape without being stiff is ideal.
Unveiling the Stitches: What You’ll Be Crocheting
This pattern is a wonderful opportunity to practice and perfect some fundamental crochet stitches. The Mollie Flowers Headband primarily uses a combination of basic stitches, making it accessible for those with a little crochet experience and a rewarding challenge for absolute beginners.
Chain (ch): This is the foundation of most crochet projects. It creates a series of loops that you’ll work your stitches into.
Single Crochet (sc): A fundamental stitch that creates a dense, sturdy fabric. It’s a workhorse stitch for creating the main band of the headband.
Half Double Crochet (hdc): Slightly taller than a single crochet, the half double crochet creates a bit more drape and texture.
Double Crochet (dc): A taller stitch that works up quickly, creating a looser fabric. This stitch is often used in the construction of the Mollie Flowers themselves.
Slip Stitch (sl st): Used for joining rounds, creating borders, and moving yarn across stitches without adding height.
Magic Ring (or adjustable loop): This technique creates a tight, closed center for the flowers, preventing any gaps and giving them a neat finish.
Tips for Beginners: Making Your Crochet Journey Smoother
While the Mollie Flowers Headband is relatively straightforward, every crocheter can benefit from a few helpful hints, especially when you’re just starting out.
Tension is Key: Try to maintain consistent tension throughout your work. This means not holding your yarn too tightly or too loosely. Practicing swatches (small samples of your stitches) can help you get a feel for your tension. If your stitches look uneven, try adjusting your grip or the way you hold the yarn.
Counting Your Stitches: It might seem tedious, but counting your stitches in each row or round is crucial for a well-formed headband. This prevents your piece from widening or narrowing unintentionally. Stitch markers can be your best friend here – use them to mark the beginning and end of rows, or key stitch counts.
Read Ahead: Before you start a row or round, read the instructions carefully. Visualize the steps involved. This can help prevent mistakes and ensure you’re on the right track.
Don’t Fear Frogging: “Frogging” is crocheter-speak for unraveling your work. If you make a mistake, it’s okay! It’s a natural part of the learning process. Gently pull out the stitches until you reach the point of your error and try again.
Watch Video Tutorials: Many excellent free crochet tutorials are available online for each of the stitches mentioned above. If you’re unsure about a particular technique, a visual demonstration can be incredibly helpful. Search for “how to crochet [stitch name]” on platforms like YouTube.
Practice the Flowers Separately: Before attaching the flowers to your headband, try crocheting a few on their own. This allows you to focus on mastering the flower construction without the pressure of also creating the band.
Personalize Your Bloom: Customizing Your Headband
The beauty of handmade is that it’s inherently unique. The Mollie Flowers Headband offers fantastic opportunities for customization to match your personal style or the recipient’s taste.
Color Combinations:
Monochromatic Magic: Use different shades of the same color for the band and flowers for a subtle yet chic look.
Rainbow Bright: Go all out with a vibrant rainbow of flower colors, or alternate between a few key colors.
Earthy Tones: Opt for creams, browns, greens, and muted floral colors for a natural, bohemian feel.
Bold Contrast: Pair a dark band with bright, neon flowers, or vice versa, for a striking statement.
Flower Arrangement:
Evenly Spaced: Distribute the flowers consistently along the band for a balanced look.
Clustered Blooms: Group several flowers together in one or two areas for a focal point.
Asymmetrical Charm: Place flowers randomly or in a more organic, off-kilter arrangement.
Size Variation: If you’re feeling adventurous, you could experiment with making some flowers slightly larger or smaller to create visual interest.
Band Width and Length:
Wider Band: To create a wider band, simply crochet more rows of your chosen stitch (sc, hdc, or a combination).
Narrower Band: Conversely, fewer rows will result in a narrower band.
Custom Length: Measure the head circumference of the intended wearer. Crochet your band until it fits snugly but comfortably, allowing for the stretch of the stitches and any ties or closures. For a no-tie band, ensure it stretches to fit without being too tight.
Caring for Your Crochet Creation
Proper care will ensure your beautifully crafted Mollie Flowers Headband lasts for seasons to come.
Washing:
Hand Wash Recommended: For most cotton and acrylic yarns, hand washing in cool to lukewarm water with a mild detergent is the best approach. Gently swish the headband in the water and avoid wringing or stretching it aggressively.
Machine Wash (with caution): If your yarn label allows for machine washing, place the headband in a mesh laundry bag and wash it on a delicate cycle with cold water.
Drying:
Lay Flat to Dry: Gently reshape the headband and lay it flat on a clean towel or drying rack. Avoid hanging it, as this can stretch out the stitches.
Avoid Heat: Do not put your crochet headband in a machine dryer, as the heat can damage the fibers and cause shrinkage or misshaping.
Storage: Store your headband in a cool, dry place. Folding it gently is usually best. If you have a lot of headwear, consider a dedicated shelf or drawer to keep them organized and protected from dust and snagging.
Beyond the Band: Project Ideas for Mollie Flowers
The charming Mollie Flowers aren’t just for headbands! Their delightful design makes them perfect for embellishing a variety of other crochet projects.
Garment Embellishments: Sew or crochet them onto the cuffs of sweaters, the lapels of jackets, or along the neckline of dresses for a whimsical touch.
Bag and Purse Decor: Add a cluster of Mollie Flowers to a plain tote bag, clutch, or crochet handbag for a personalized update.
Home Decor Accents:
Cushion Covers: Stitch them onto a crochet cushion cover for a pop of color and texture.
Coasters: Use them to add a decorative element to simple crochet coasters.
Wall Hangings: Incorporate them into larger crochet wall hangings for a charming floral display.
Gift Tags and Cards: Sew or glue a small Mollie Flower onto handmade gift tags or greeting cards for an extra special touch.
Brooches and Pins: Attach a small pin backing to a Mollie Flower to create a unique, wearable accessory.
Hair Clips and Bobby Pins: Secure them to hair clips or bobby pins for an adorable hair accessory.
The Mollie Flowers Headband is more than just a crochet pattern; it’s an invitation to create something beautiful, learn new skills, and express your unique style. So, gather your yarn, grab your hook, and let your creativity bloom! Happy crocheting!
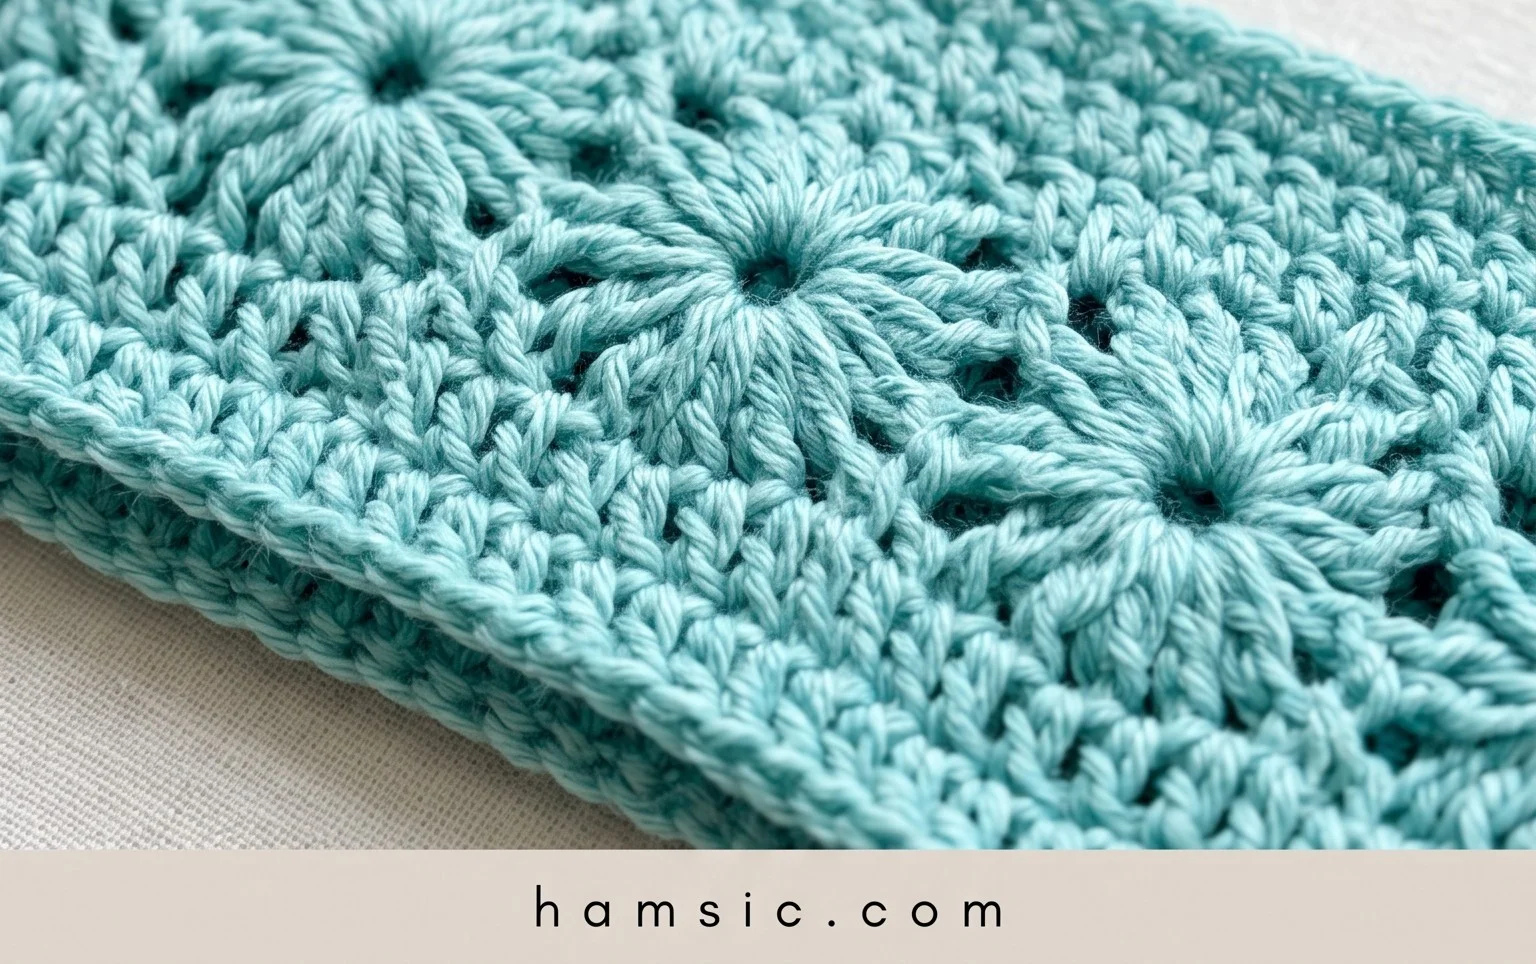
We hope you’ve enjoyed learning how to crochet this beautiful Mollie Flowers Headband! This pattern is a delightful way to add a touch of handmade charm to any outfit, and it’s perfect for crocheters of all skill levels. Don’t be shy – grab your hook and yarn and give it a try!
We’d absolutely love to see your finished headbands! Share your creations on social media using #MollieFlowersHeadband so we can all admire your handiwork. Feel free to experiment with different yarn colors or add a few extra tiny flowers for a unique touch. And when you’re ready for your next project, be sure to explore our other free crochet patterns – there’s always something new and exciting waiting for you!